I’ve been running Tomato for several years on an Asus WL-520GU router. Tomato is a firmware replacement with similar features to DD-WRT, but simpler to configure. I recently upgraded to an Asus RT-N10P router. It wasn’t the WL-520GU’s limitation to wireless G speeds that was bothering me. It was the fact that I could never achieve the full 50 mbps broadband speed my ISP now offers. I knew the higher speeds were possible, because Speedtest measured that high when I plugged my laptop directly into the cable modem. The old router maxed out at around 30 mbps.
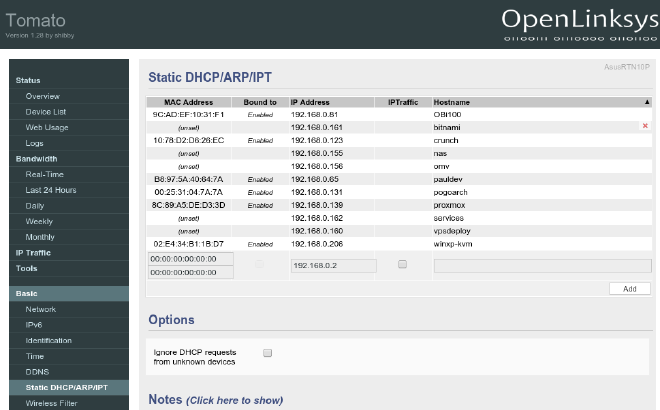
Although I was eager to ditch the old router, I wanted to keep running Tomato. It makes management of my home LAN a cinch. In addition to physical machines, I run several virtual ones using Proxmox. Tomato makes it easy to create static DHCP addresses for each one, in addition to basic wired/wireless network management and advanced features like port forwarding, QoS, and UPnP/NAT-PMP.
Like with the old router, the challenge is getting there: replacing the ASUS factory firmware with the new one. Following another user’s guide for installing Tomato on the Asus RT-N66U and this Youtube video, I was able to get the Shibby Tomato firmware running in about an hour. Here’s what I did. I used a Windows laptop, because the initial steps require running software from Asus that is only available for that platform.
- Download
latest K26RT-N build from Shibby’s site. You have a choice of different size builds depending on the features you want. I chose the “max” one,
tomato-K26-1.28.RT-N5x-MIPSR2-121-Max.trx. - Download and install Asus restore/rescue utility (the smaller 11mb file, not the bigger one). I used the one for RT-N10U – a slightly different model number (UT_RT_N10U_4268.zip). Open the .zip file from a Windows PC and run setup.exe to install the full set of utilities.
- Disconnect the Windows PC if it is wired into any LAN. Use Windows Control Panel to disable the wireless adapter. We want to force all internet communication through a direct ethernet cable connecting our PC to the router.
- Also in Control Panel, open TCP/IP properties for the wired adapter and set an IP of 192.168.1.10 (change from DHCP to static IP).
- Connect ethernet cable between laptop and router.
- Disconnect power cable from router. Hold pen or paper clip in reset and hold for 5 seconds. Continuing holding in as you re-attach power, then press the power button. Power LED (far left) on router should start blinking slowly – on every few seconds. If it doesn’t, you’re not in recovery mode. Try the above steps again, beginning with “Disconnect power cable”.
- Run
rescue.exefrom the directory where Asus utilities were installed (Programs x86directory). Browse to filename with .trx extension you downloaded. Click Upload. It may say connecting to wireless device, but it will really be using the LAN cable. Upload should begin within seconds. If not, you haven’t properly set your static IP above, or the router is not in recovery mode. - Progress bar will finish within a minute. Message will say, “Successfully recovered the system. Please wait for the system to reboot”. Here, you have to decide how much time to wait before restarting the router, because you won’t get any clues from your computer’s screen. I played it safe and walked away for an hour. I think I could have rebooted in much less time than that. I did notice when I rebooted that the Power LED (#1) was blinking on/off every second, #2 button was solid green, and the button on the far right was solid green. Other LED"s were off. Power the router off and on. Browse to 192.168.1.1 (user is “root”, password is “admin”; I wasn’t prompted for a login, maybe because I hadn’t set one yet).
- Navigate to Administration -> Configuration. Under Restore Default Configuration, select “Erase all data in NVRAM memory (thorough)”. Click “OK”. Wait for the router to be ready (90 second countdown). (The three lights should be solid green. When you Shutdown thru the UI, it goes down to two lights, one on each end.)
- Reset your Windows computer wired adapter to use DHCP Instead of static IP; re-enable wireless if you had disabled it.
I’m happy with the upgrade. And yes, I’m getting 50 mbps through the new router.