Chromebooks come pre-installed with Google’s proprietary operating system. It’s a perfectly good one, so long as you stick to web browsing. And partly thanks to its limited software, it’s very secure. Google manages all that for you automatically.
A while back, I experimented with Linux on an HP Chromebook, using
Crouton. It’s an excellent solution for running either a Google- or an Ubuntu-based operating system, depending your mood. However, keeping the option to run either OS also comes with some trade-offs. ChromeOS still occupies much of your disk. Because the typical disk drive is a small SSD, that limits how much you can install. Starting up the Linux (Ubuntu) session took some additional keystrokes and time. Moreover, it’s a bit slow, because you’re running Linux from a shell command within ChromeOS, using an (optionally) encrypted file system as the chroot for your sessions.
I recently tried a full Linux distro, GalliumOS, that’s specially made for Chromebooks. I installed it on a a refurbished Acer C720 laptop. The Acer is netbook size with a smallish screen and cheap plastic case, but mine came with 4gb of RAM. That’s twice as much as the typical Chromebook. Why waste all that memory on Google Chrome?
Prepare For Installation #
Download the GalliumOS .iso file for your Chromebook. It’s about 1 GB. Then copy it to a USB drive. I followed the advice for creating a bootable drive and used Etcher.
You have a choice between overwriting ChromeOS with GalliumOS (the “traditional” ISO/USB stick option) or dual booting between the two (“chrx” installation). The installation instructions give an overview. The chrx installation process has similarities to Crouton. It involves partitioning your drive but may be easier to accomplish, because you don’t have to update firmware. When booting, you press Ctrl-D to go into ChromeOS, or Ctrl-L to boot GalliumOS.
Instead, I chose the full installation method. I wanted all the 16 GB SSD space for Linux and didn’t mind giving up ChromeOS. I also wanted to update the firmware, because I don’t want that ChromeOS warning screen. Plus, the boot flags you set with the chrx method may not survive a loss of power. The Intel Haswell chipset for my Acer is well-supported. I followed the Acer (“Peppy”) installation guide, .
Updating the legacy firmware was the most difficult part. For the Acer, it required me to remove a write-protect screw from the motherboard, which in turn meant removing a dozen screws from the underside of the case. I’ll spare you the details. If you have a similar Acer model, see this description and diagram.
Whatever you do, don’t skip over the part about backing up ChromeOS to a USB flash drive using the ChromeOS Recovery Utility. It lets you quickly revert the entire system. I strongly recommend that you practice restoring from it before you attempt anything further.
Update Firmware #
If your Chromebook is supported for firmware modifications, follow the instructions to boot into Developer mode:
- Hold down Escape+Refresh keys then press Power button.
- At the warning screen, press Ctrl+D to enter Developer Mode.
- Press Ctrl+ Alt+T to open a terminal.
- You’ll see a
croshscreen prompt. Typeshelland press.
Run the firmware upgrade script(s) as described at mrchromebox.
curl -LO https://mrchromebox.tech/firmware-util.sh
sudo bash firmware-util.sh
I chose these options, to enable the system to continue booting without pausing at a prompt, as typically happens when you enable Developer Mode:
- Select option 1 from the menu (Install/Update the RW_LEGACY Firmware)
- Answer N to booting from USB by default
- Select option 4 from the menu (Set Boot Options (GBB Flags)
- Choose first option (short boot delay (1) + Legacy boot default
- Select P for power off
Now you can set the system flags.
sudo crossystem dev_boot_usb=1 dev_boot_legacy=1
Reboot the chromebook using the same steps you used to go into Developer Mode and open a terminal. After running the shell command, type:
Install GallliumOS #
Insert the USB drive in the Chromebook and reboot it. For the Acer, the instructions warned me to use the USB 2.0 port, not the 3.0 one. The system still wanted to boot from the SSD drive by default. I had to hit the Escape key to get the menu allowing me to choose a different boot device.
The USB drive will automatically runs GalliumOS Live and shows you an XFCE desktop. From the menu, select System | Install Gallium 2.1. You’ll be prompted to connect to the wireless network, and given the option to install third party software (Flash, MP3). You’ll also have the option to encrypt the disk or use LVM (I declined).
When you reboot after installation, the system should automatically continue past the warning screen, after a 1-2 second pause. You can now bring the system up-to-date with the usual Debian/ubuntu commands (sudo apt-get update && sudo apt-get upgrade).
Customization #
I didn’t have to tweak Gallium’s appearance much. Although I’m used to the MATE desktop, I found XFCE intuitive and functional. Most everything you need to access can be placed on the bottom panel. Gallium has sensible key bindings that overcome some of the limitations of Chromebooks – for example, lack of dedicated keys for Page Up, Page Down, Home, End, Insert and Delete.
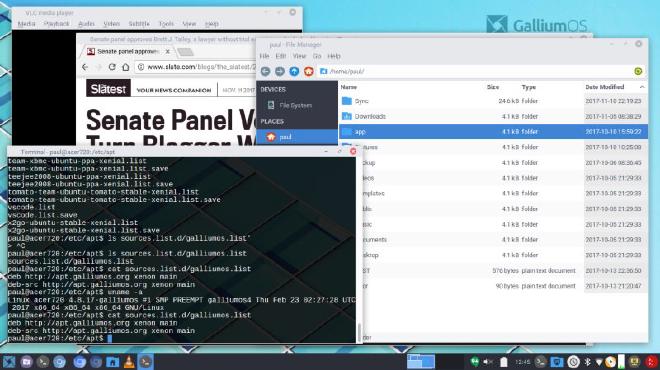
GalliumOS comes with a basic set of applications, including the Chromium browser, VLC media player, and Synaptic package manager. The GalliumOS wiki suggests some
additional software you can install from the command line. I chose the
TLP power manager. Otherwise, I chose what I needed from the Ubuntu repositories, using apt-get or the Synaptic package manager.
GalliumOS delivers snappy performance and feels like a significant boost over Crouton. The Acer’s Celeron 2955U CPU may be only 1.4 GHz, but the response is fast thanks to having enough RAM and an SSD. I highly recommend it as a lightweight OS for laptop computing.